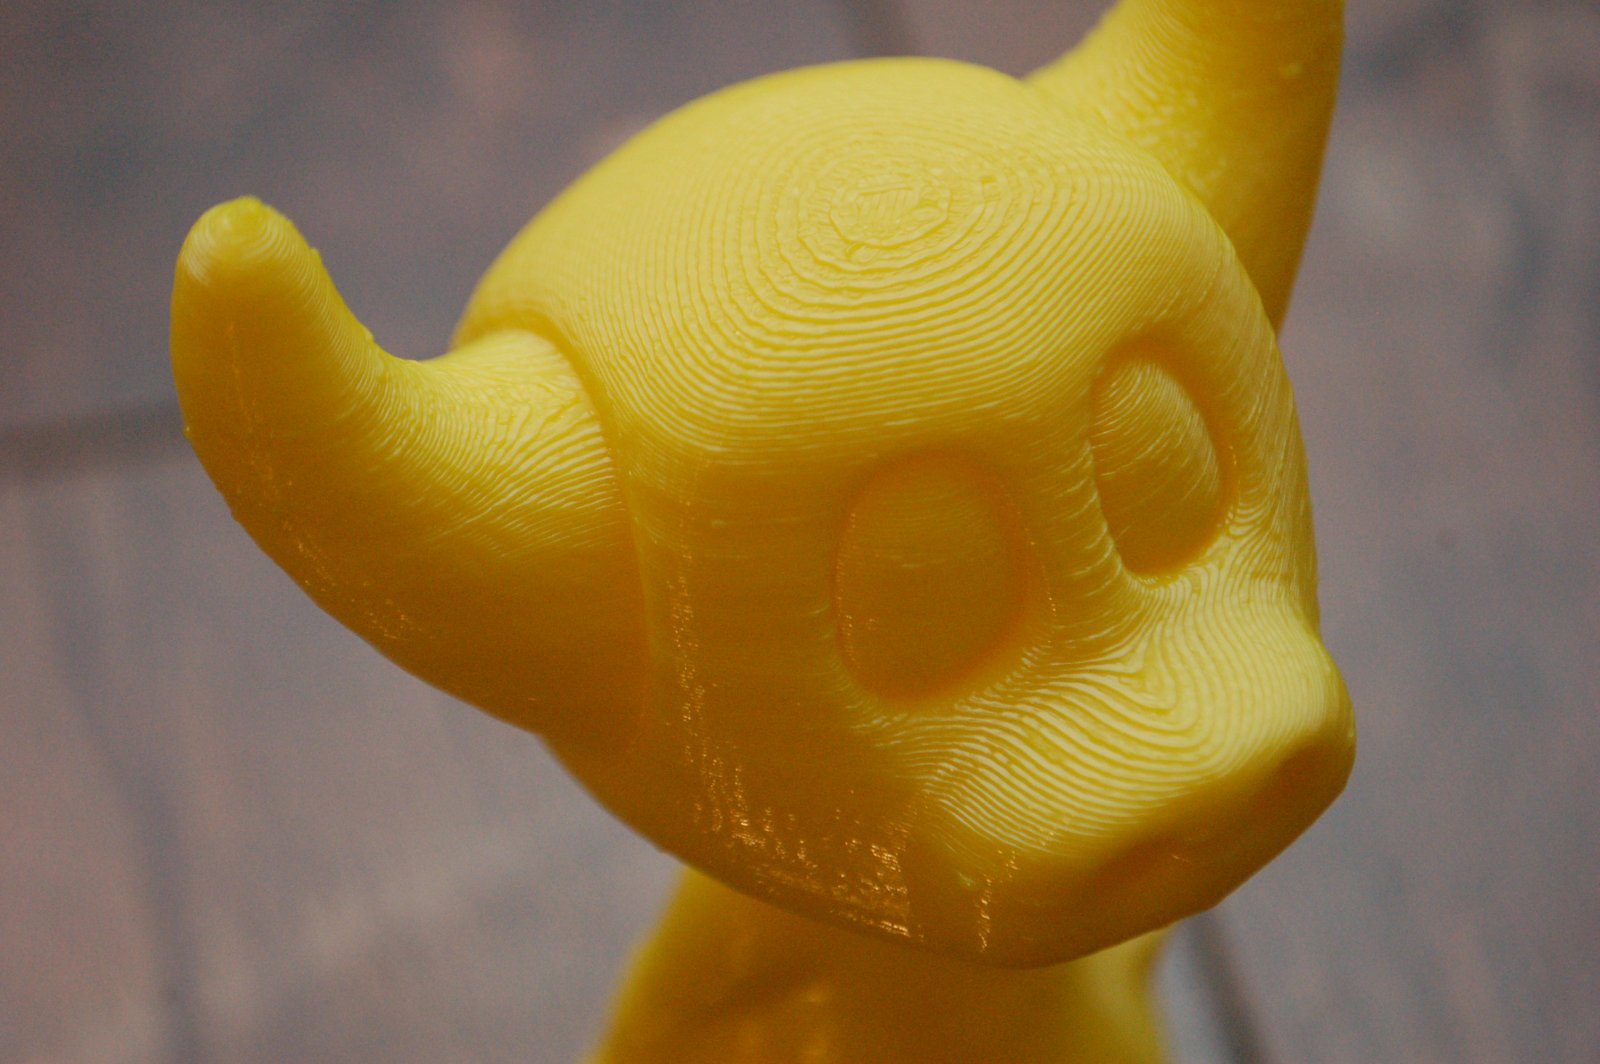
Don Foley írta a következő rövid leírást a WanHao új modelljéről, a Duplicator 5-ről. Don Foley amúgy a National Geographic illusztrátora, és nem mellesleg 3D modellezéssel is foglalkozik. Jelenleg egy Duplicator 4 és most már egy Duplicator 5 tulajdonosa.
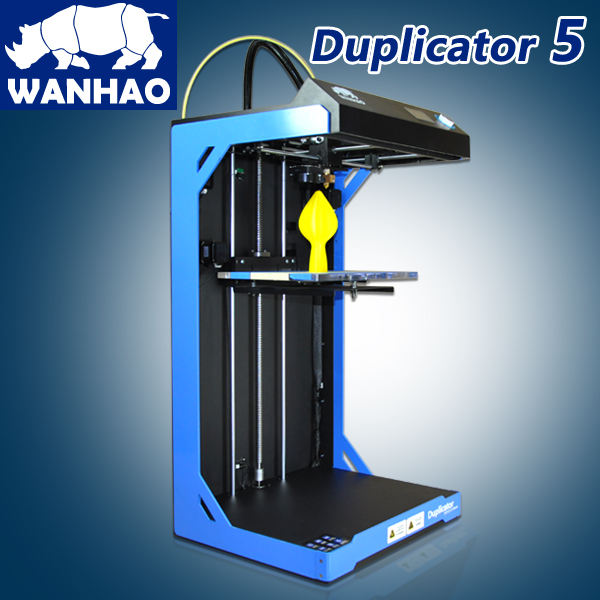
A Duplicator 5 specifikációja:
- Masszív 40 kg-os súly és masszív váz
- 305mm x 205mm x 605mm-es nyomtatási terület (38 liter!)
- 1 fejes extrúder
- 3mm-es PLA / ABS / PVA
- 300 mm/sec nyomtatási sebesség
- 0.02-0.4mm-es rétegvastagság!
És akkor itt a vélemény (hamarosan fordítással):
The machine is pretty beefy. It stands 34" tall, has a steel frame. I can only guess how much it weighs, but it felt like picking up an 80lb bag of concrete. Unpacking and setup was simple, if you've done the D4, the experience is pretty much the same. Instead of feeding directly off the spool, however, the material goes through a feeder located in on the back of the unit. It took less than 15 minutes to unpack, put on the spool holder, level the plate and load the filament.
Three nice things right off the bat. The plate is leveled with three wingnuts (three instead of four, and wingnuts instead of knobs) and the build plate is aligned with three pins with the whole plate being held down to the base by three magnets. This is REALLY going to simplify things. The build plate is a REAL thick (1/2 inch) piece of clear acrylic-like plastic. The build plate is 13" inches wide (X) and9 1/2" deep (Y). Since my usual formula for success is using Scotch brand painters tape, I decided to follow my old habits. It took five strips of tape to cover the plate.
I knew the printer was on the way, only problem is I'm a Mac user. Fortunately my daughter was driving over from Tampa on Tuesday and had an old PC notebook from her college days. It runs on Windows 7. I loaded the WanhaoMaker on Tuesday and set up my test STL. It worked fine.
Knowing the specs of the D5, I had built a model to take advantage of the size of the machine, a shark that would be printed in two halves. The back portion of the shark would be 22" tall, just shy of the max 23" height, and the whole shark once assembled would be about 34" long. The shark would be done in two print runs. I had the STL files all set, so once I loaded the software I imported the STL files, set up a new 'category (like FFF settings in S3D) and sliced it. At high resolution (0.10 mm height) and 50 mm/sec the tail alone would take 105 hours to print. The resulting sliced file (it took 15 to 20 minutes to slice) is an ".i" file. So I had a "sharkstern.i" file ready for the printer.
The printer showed up the next afternoon. I put the "starkstern.i" file on the SD card and told it to print. The wingnuts were not tight at all, and the slightest turn made a difference, so fine-tuning the first layer wasn't hard, but you have to be careful to make SMALL adjustments. I printed a berm and ran the first layer at 10% speed. Even that seemed fast to me, as I tweaked the three wingnuts. But the print seemed to be going down fine, so I just let it run. I knew I wasn't going to run it for 105 hours, this was a test print. I'd run it for a few hours and see how it looked. I printed about a 1 inch tall piece in the photo called 'cross section." This took about 4 or 5 hours.
The test looked fine, but I didn't want my first print of an un-tried model for 200 hours (the stern itself was 105 with the current settings) so I opened up Lightwave and reduced my shark to about 50% of the original size. At this size the whole shark could fit on the single build plate. I also changed the resolution to .020 mm. With this done, I re-imported the STL and sliced it. The program told me the new print would take about 60 hours.
I laid down a new bed of tape, wiped it down with alcohol and the turned the knob to PRINT FROM SD CARD, pressed the knob and my file was the only one there, so I pressed the knob again and the warmup began. It takes a while for the machine to warm up, it seems like twice as long as the D4. But this was going to run for 60 hours, so no rush. I did notice the lack of alert sounds when it was ready to begin. This may be in the settings somewhere. It primed a BIG chunk of material onto the plate and I was concerned that this would be in the print area, so I quickly pulled this off the plate. While the first layer was going down I carefully fine-tuned the level and then let it run. In the future, I may make a faux shape on the outer rim of my build so I can fine tune around all the edges of the bed, not just wait for the berm around my objects.
But the print was off and running.
Fast forward three days.
I'm satisfied with my first print. It's not perfect. I have too many one line 'gaps' that remind me of when I started printing with my D4 before I learned how to tweak my settings. But I wanted to proof this model, so I let it run. I printed this out at 205° with PLA. I remember my gaps going away with my D4 when I went from 190° to 205°. It seemed that the materials 'melded' together better at this slightly higher temp and I never had the problem again. I'll try that with a small test on the D5. It now has a fan blowing directly on the nozzle, and that's not something I'm used to. I'm sure this will be about tweaking the settings, and it wasn't too bad, I just got spoiled by perfect prints from my D4...but it did take me about a month of playing with the D4 to get to that point. This was my first complete print.
My dorsal fin did curl up at the front. Nothing else did. So I'm going to blame this on bad bed prep for the moment. Since I have a big track record of never having my PLA curl up from the bed, I'll consider this an anomaly unless it happens a second time.
The bed is illuminated with a strip of white LED lights. The noise is about the same as the D4, maybe a little louder. I ran mine sitting on the floor. In the future I'll build a platform to raise it about a foot or two off the floor.
It does us 3mm filament. It came with one spool of silver PLA, and I had two spare rolls of silver on hand in anticipation of the arrival of the printer.
I did have a handful of small design flaws on Mr. Shark, but that's what first proofs are for. Overall, he printed just fine. My pegs and biscuit sizes were WAY off, I had a few odd structural things pop up. This is the biggest model I've ever built for 3D printing, so I had a bit of a learning curve on this too. Little things suddenly become BIG things.
Next I'm going to do some small prints to get my settings nailed down and come up with a formula that works just like I did with the D4.
One thing I will suggest is getting a UPS backup battery. After two days of printing I watched in fear as a HUGE thunderstorm was rolling across the ocean heading right towards me. I didn't even think about powering it from the UPS that handles my computers...I keep the printers in another room. I got lucky and we didn't loose power during the storm. But after the print finished I went down to Office Depot and got an APC backup that would run 420 watts for 60 minutes. The D5's power supply is rated at 150W, so I figured if I had both the D4 and the D5 running, I would be covered for an hour at least. That's fine. What worries me is the 2 or 3 second outage that would ruin a print.
My overall impression is that this machine is a game-changer for me. I have little doubt that it will print as well as my D4, but MUCH BIGGER. I have several clients that need larger pieces, and up to now I've been printing out sections and gluing them together. Very nice.
I'm sure I'll think of a handful of other notes later on. I'll add them to this thread, but for the moment I wanted to give first impressions.
And once I've rebuilt Mr. Shark to my liking...I absolutely am printing him at full size and full resolution.
A Duplicator 5 már rendelhető, rendelés esetén 2-3 héten belül szállítjuk!
